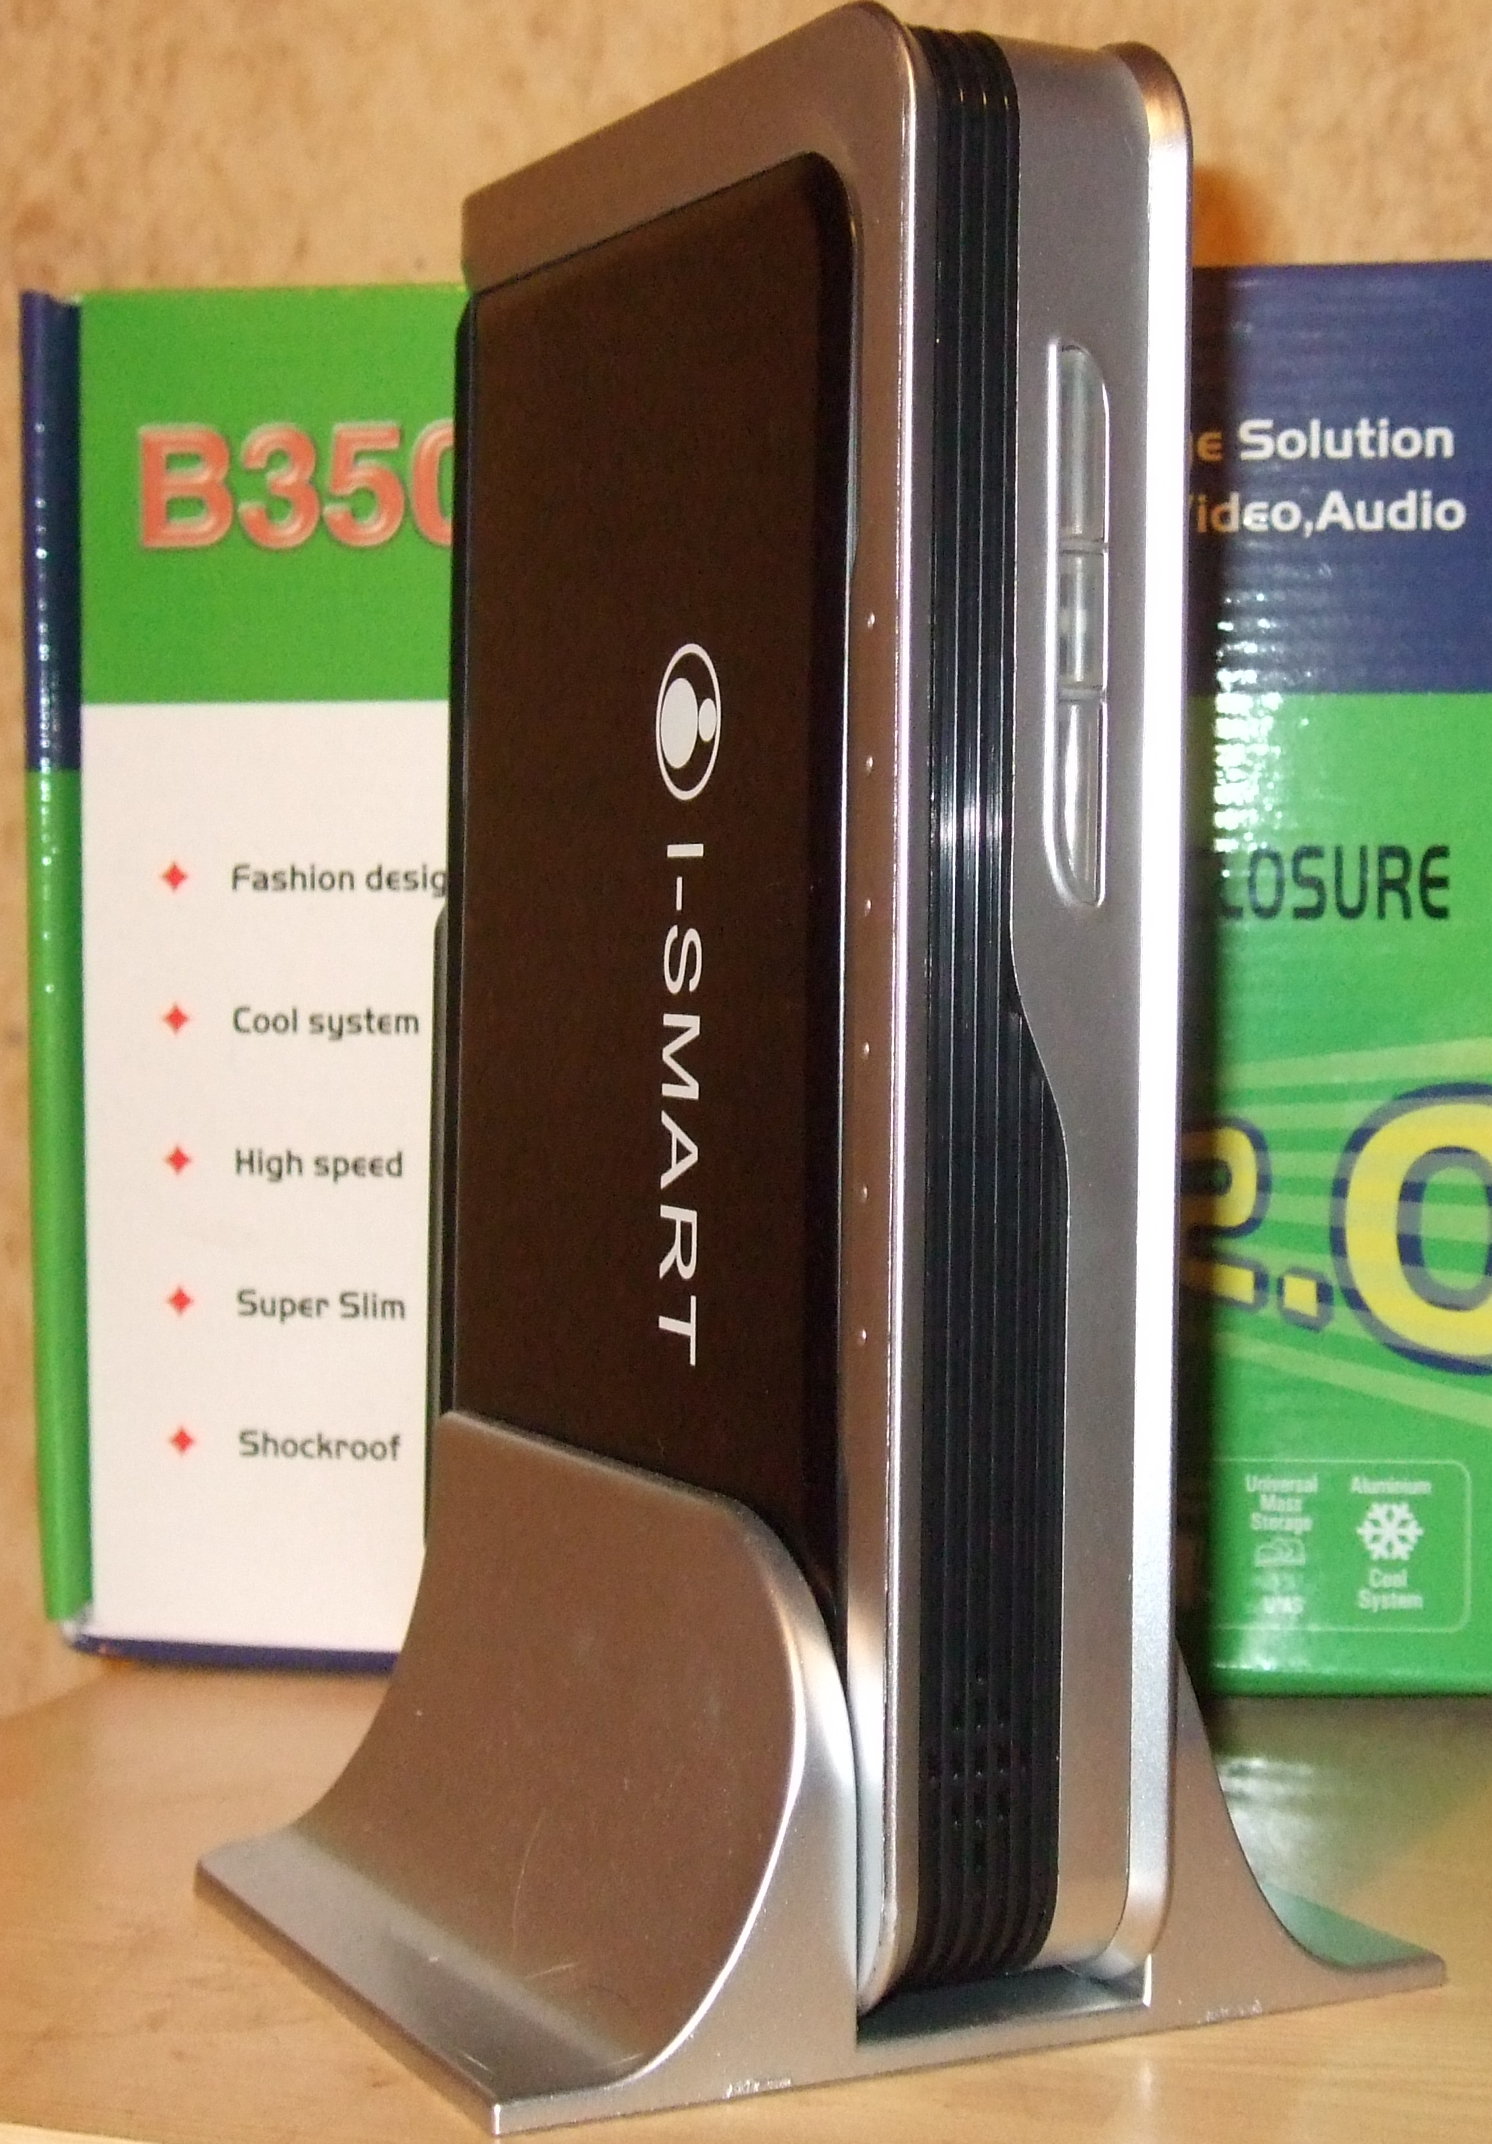
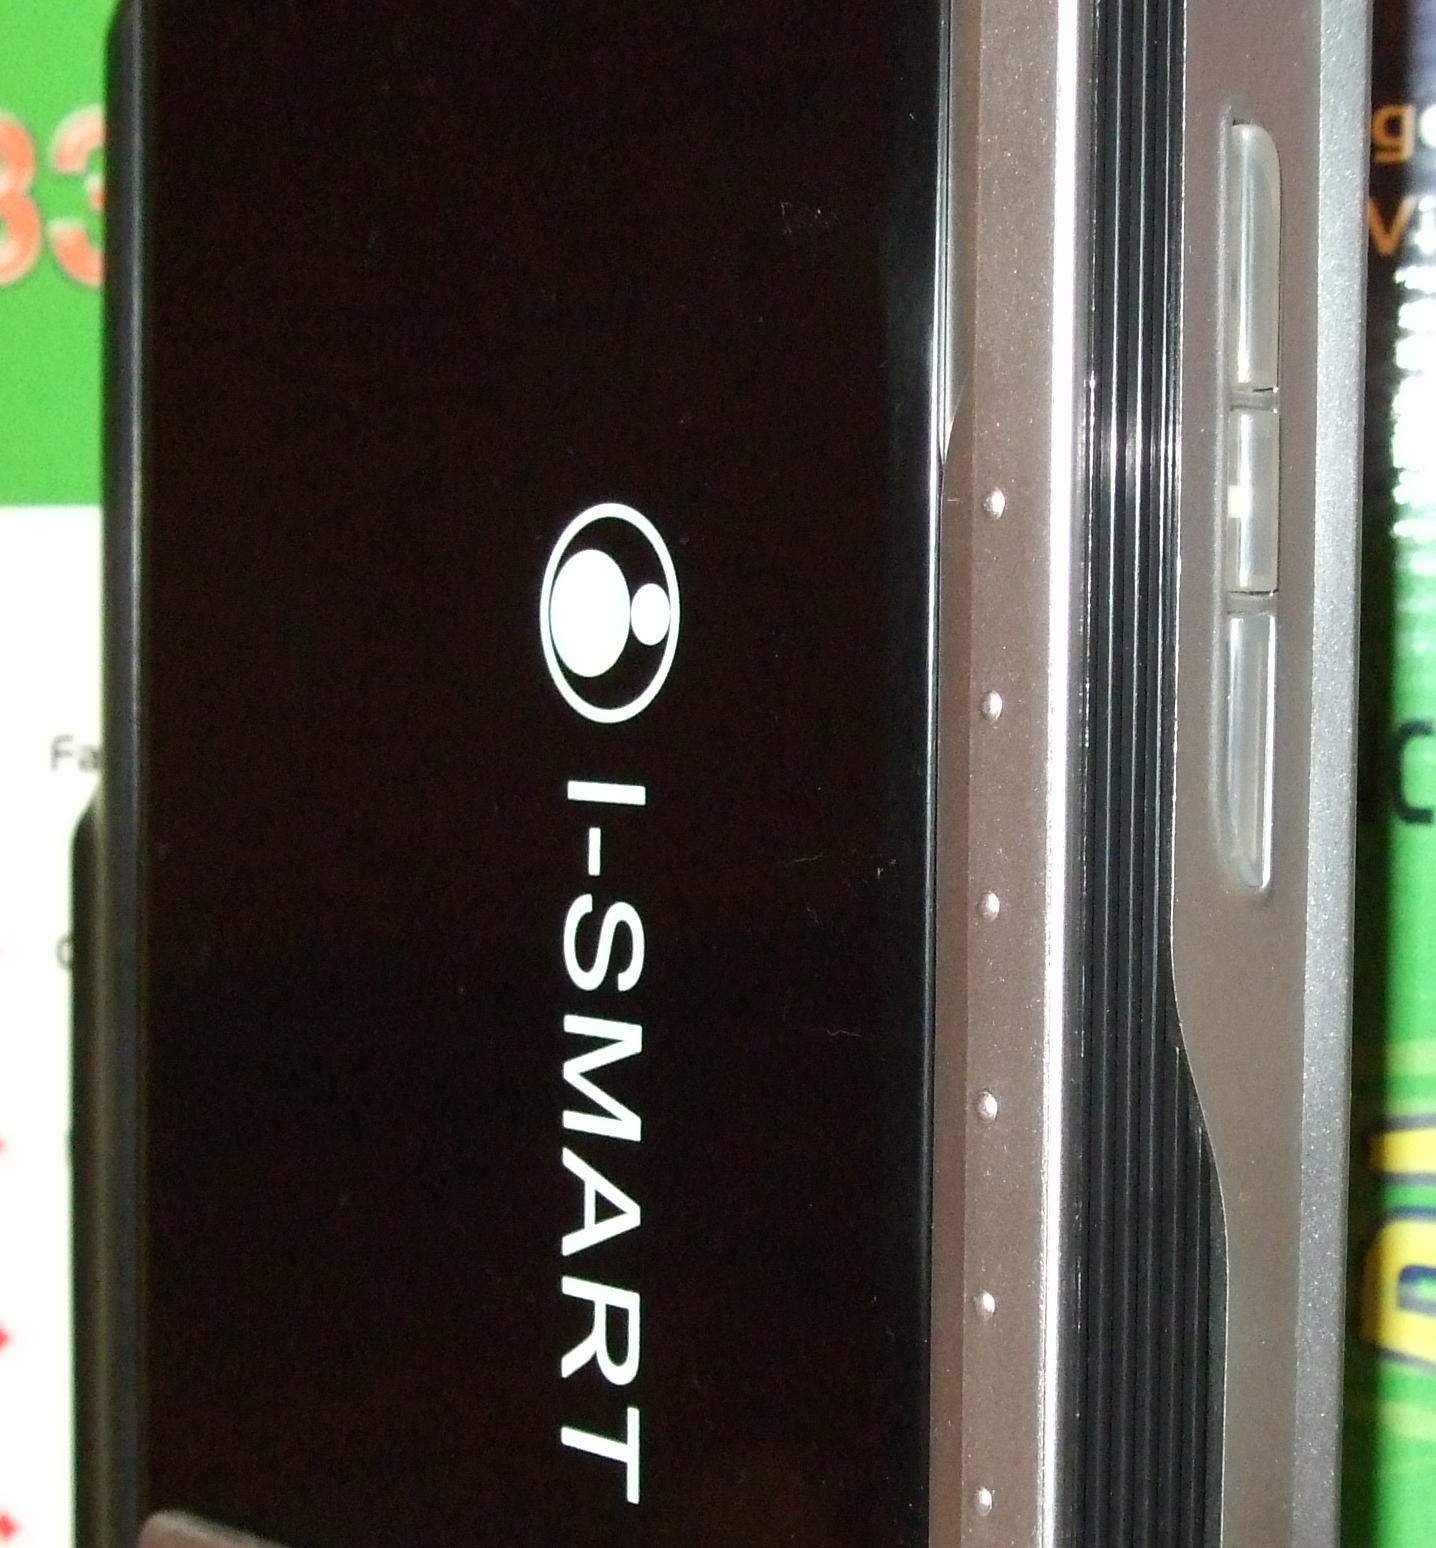
The finished unit from the front,
showing the two indicators and power button.
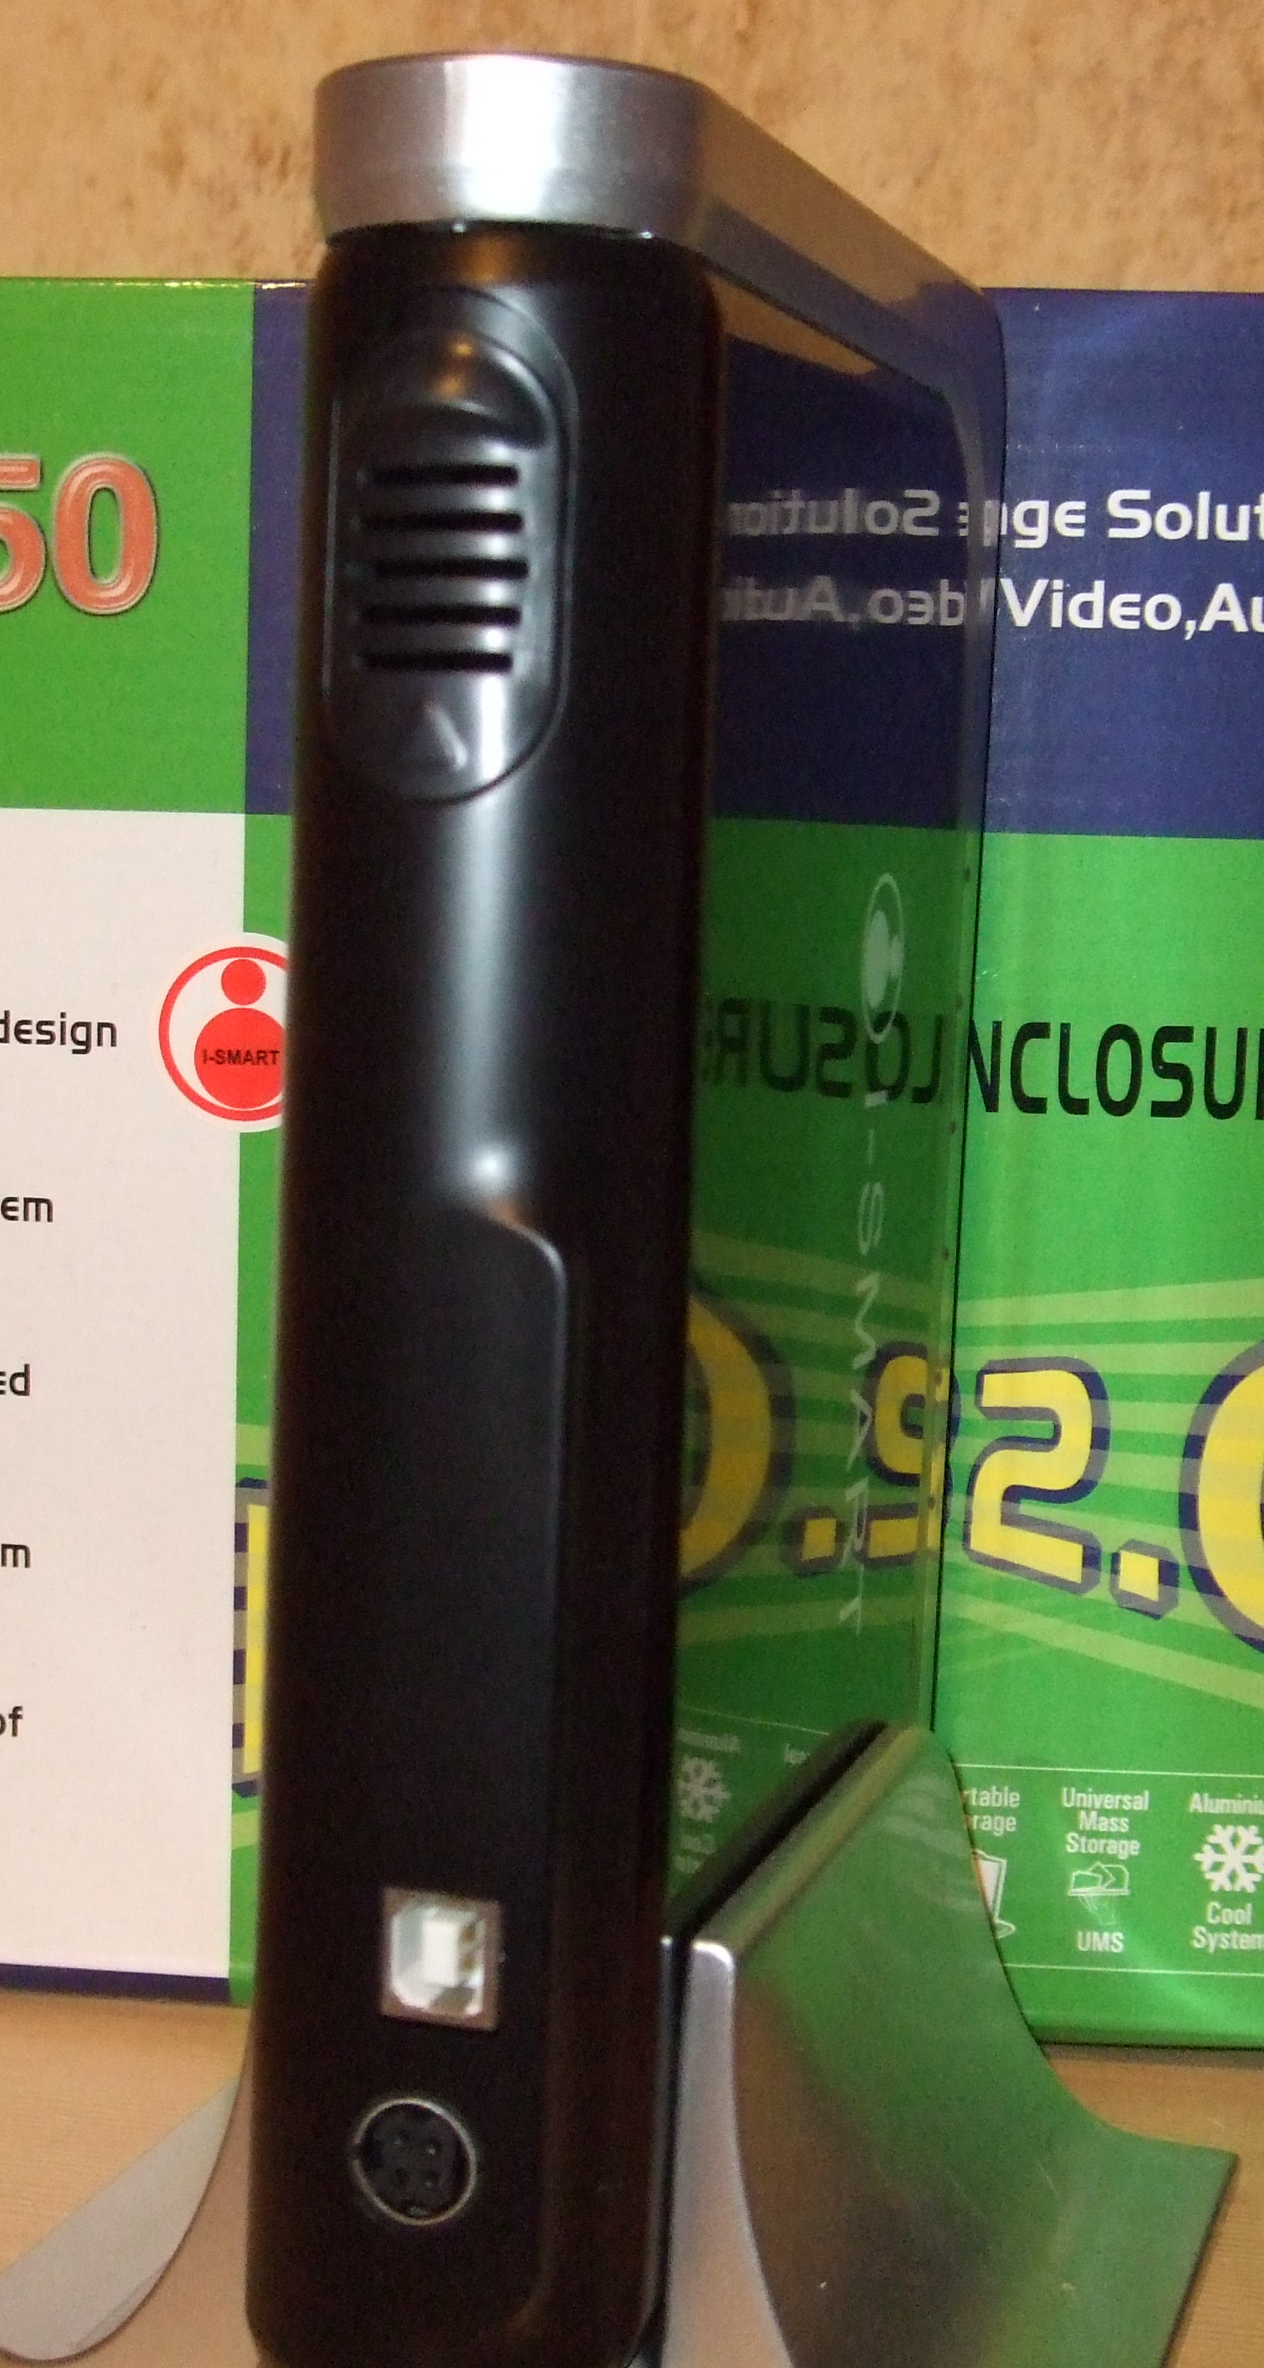
Back of the unit showing the power and data socket.
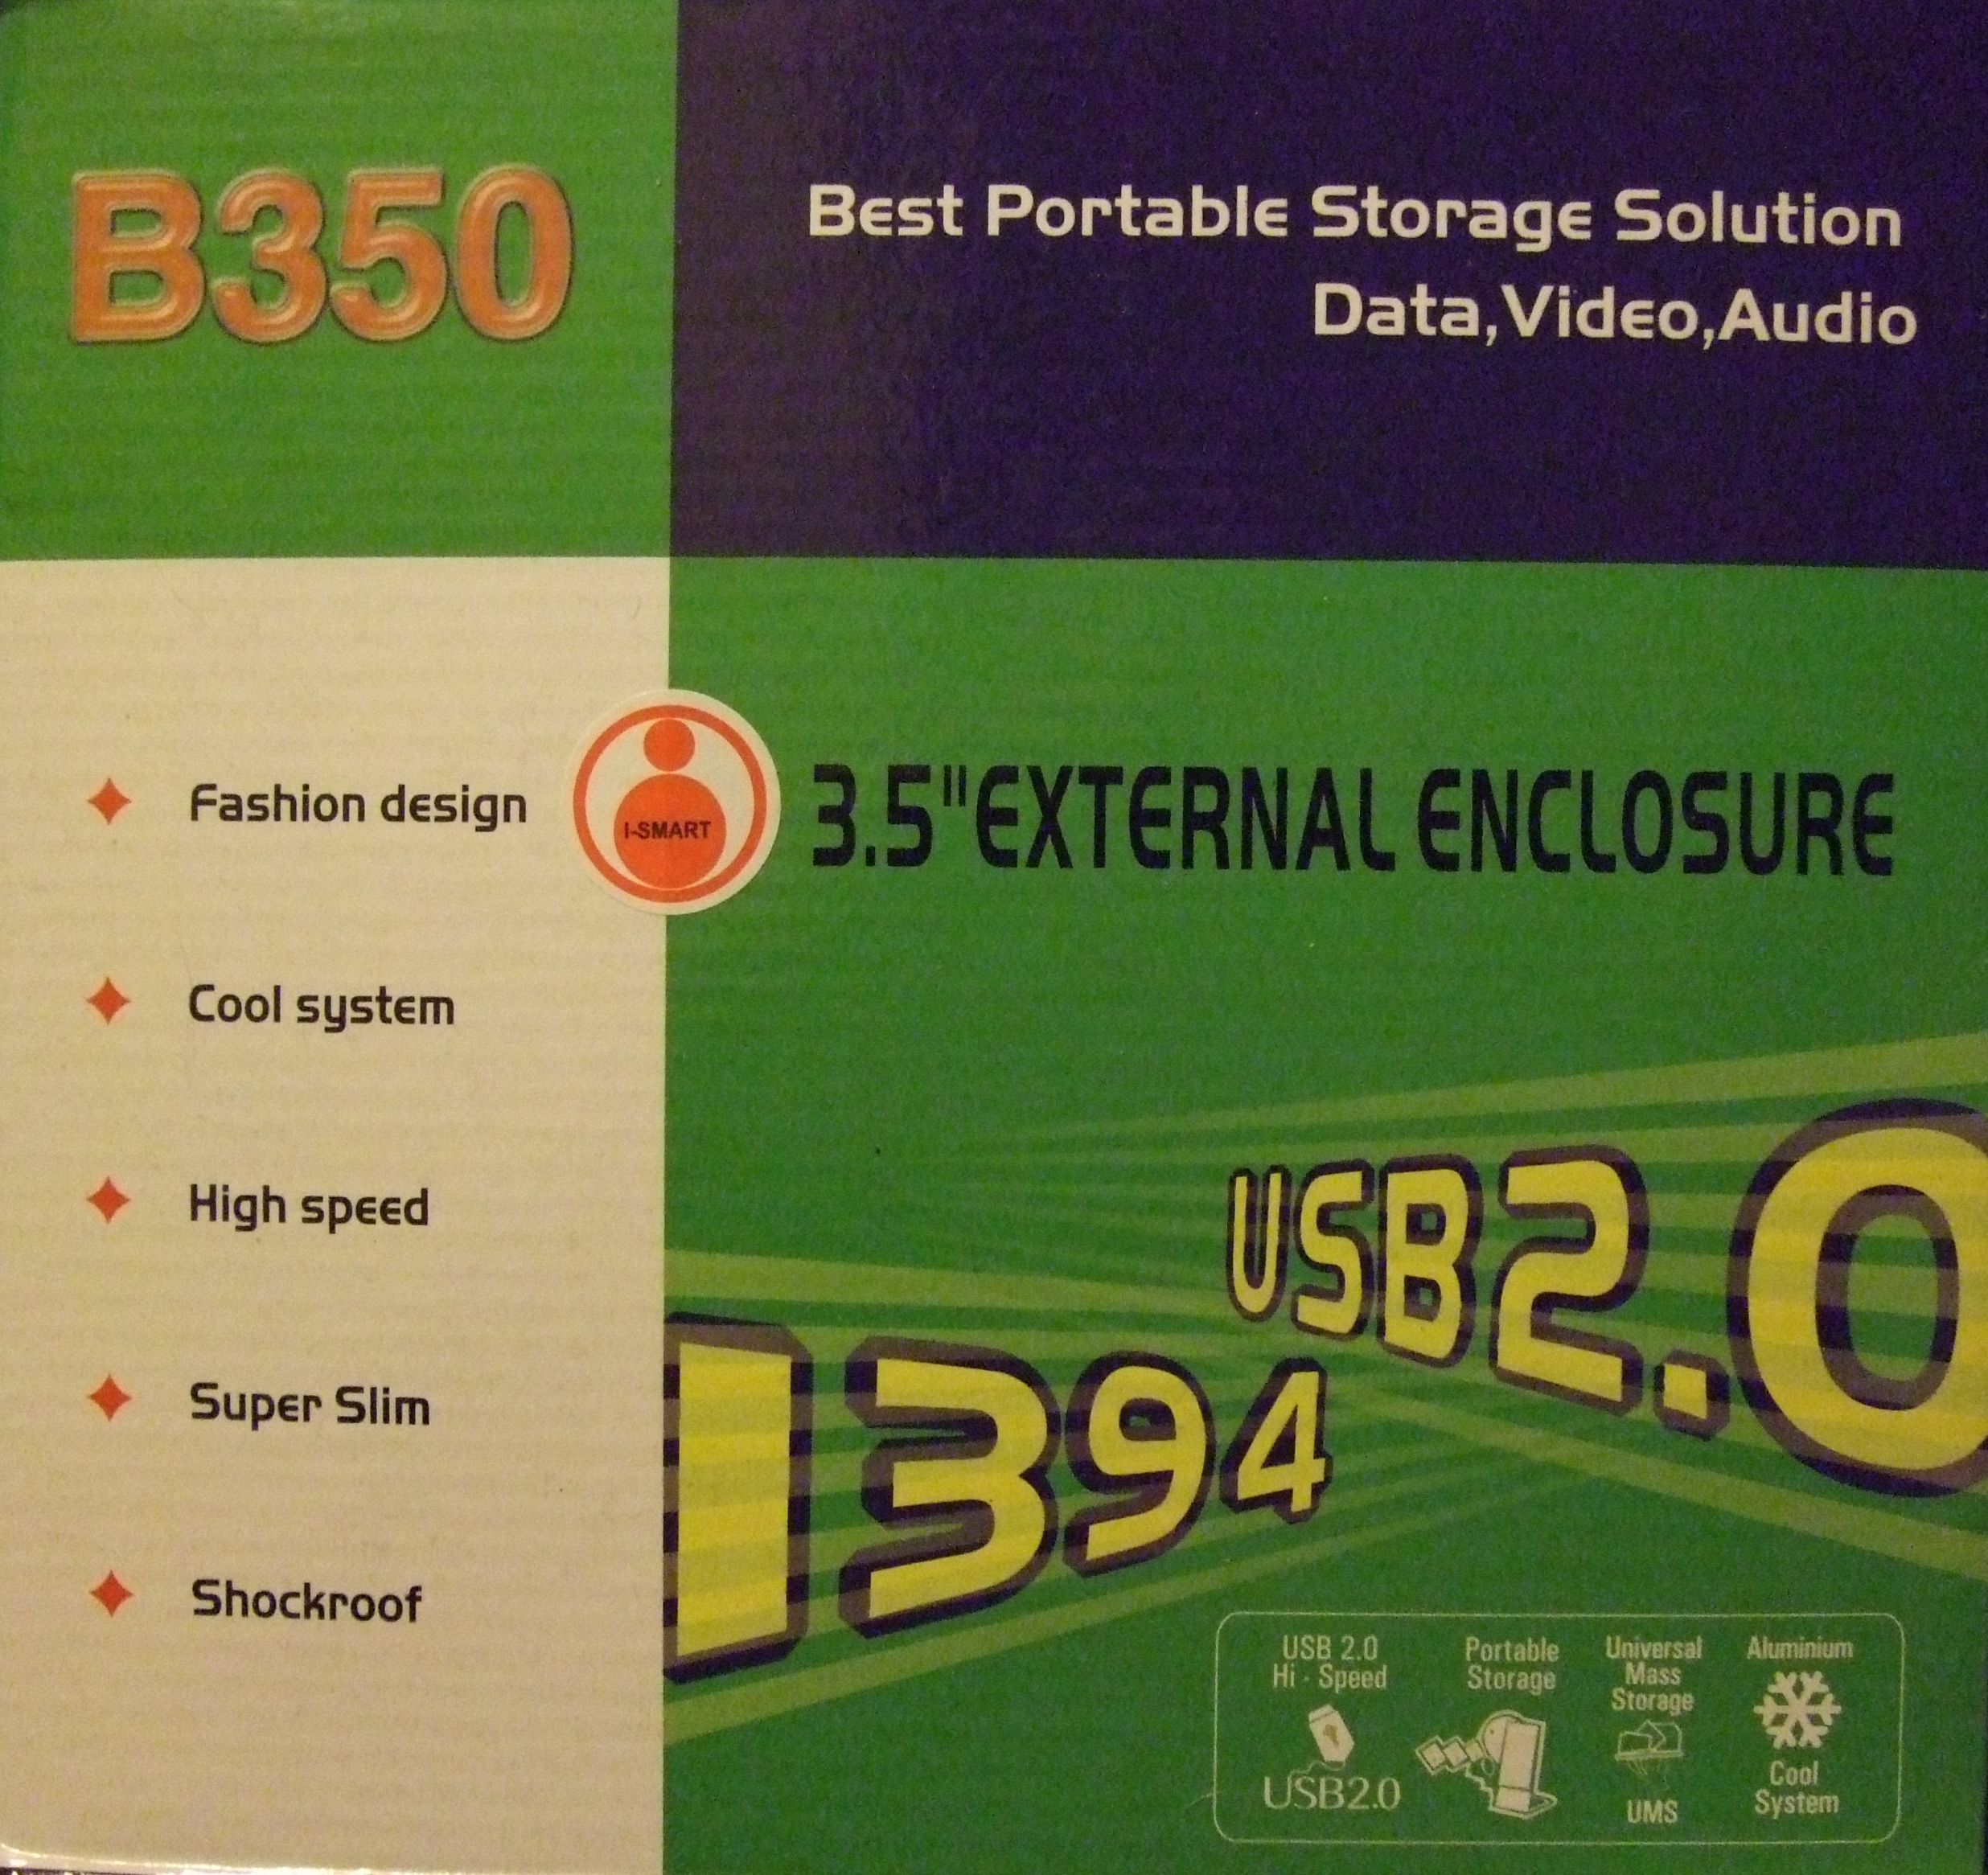
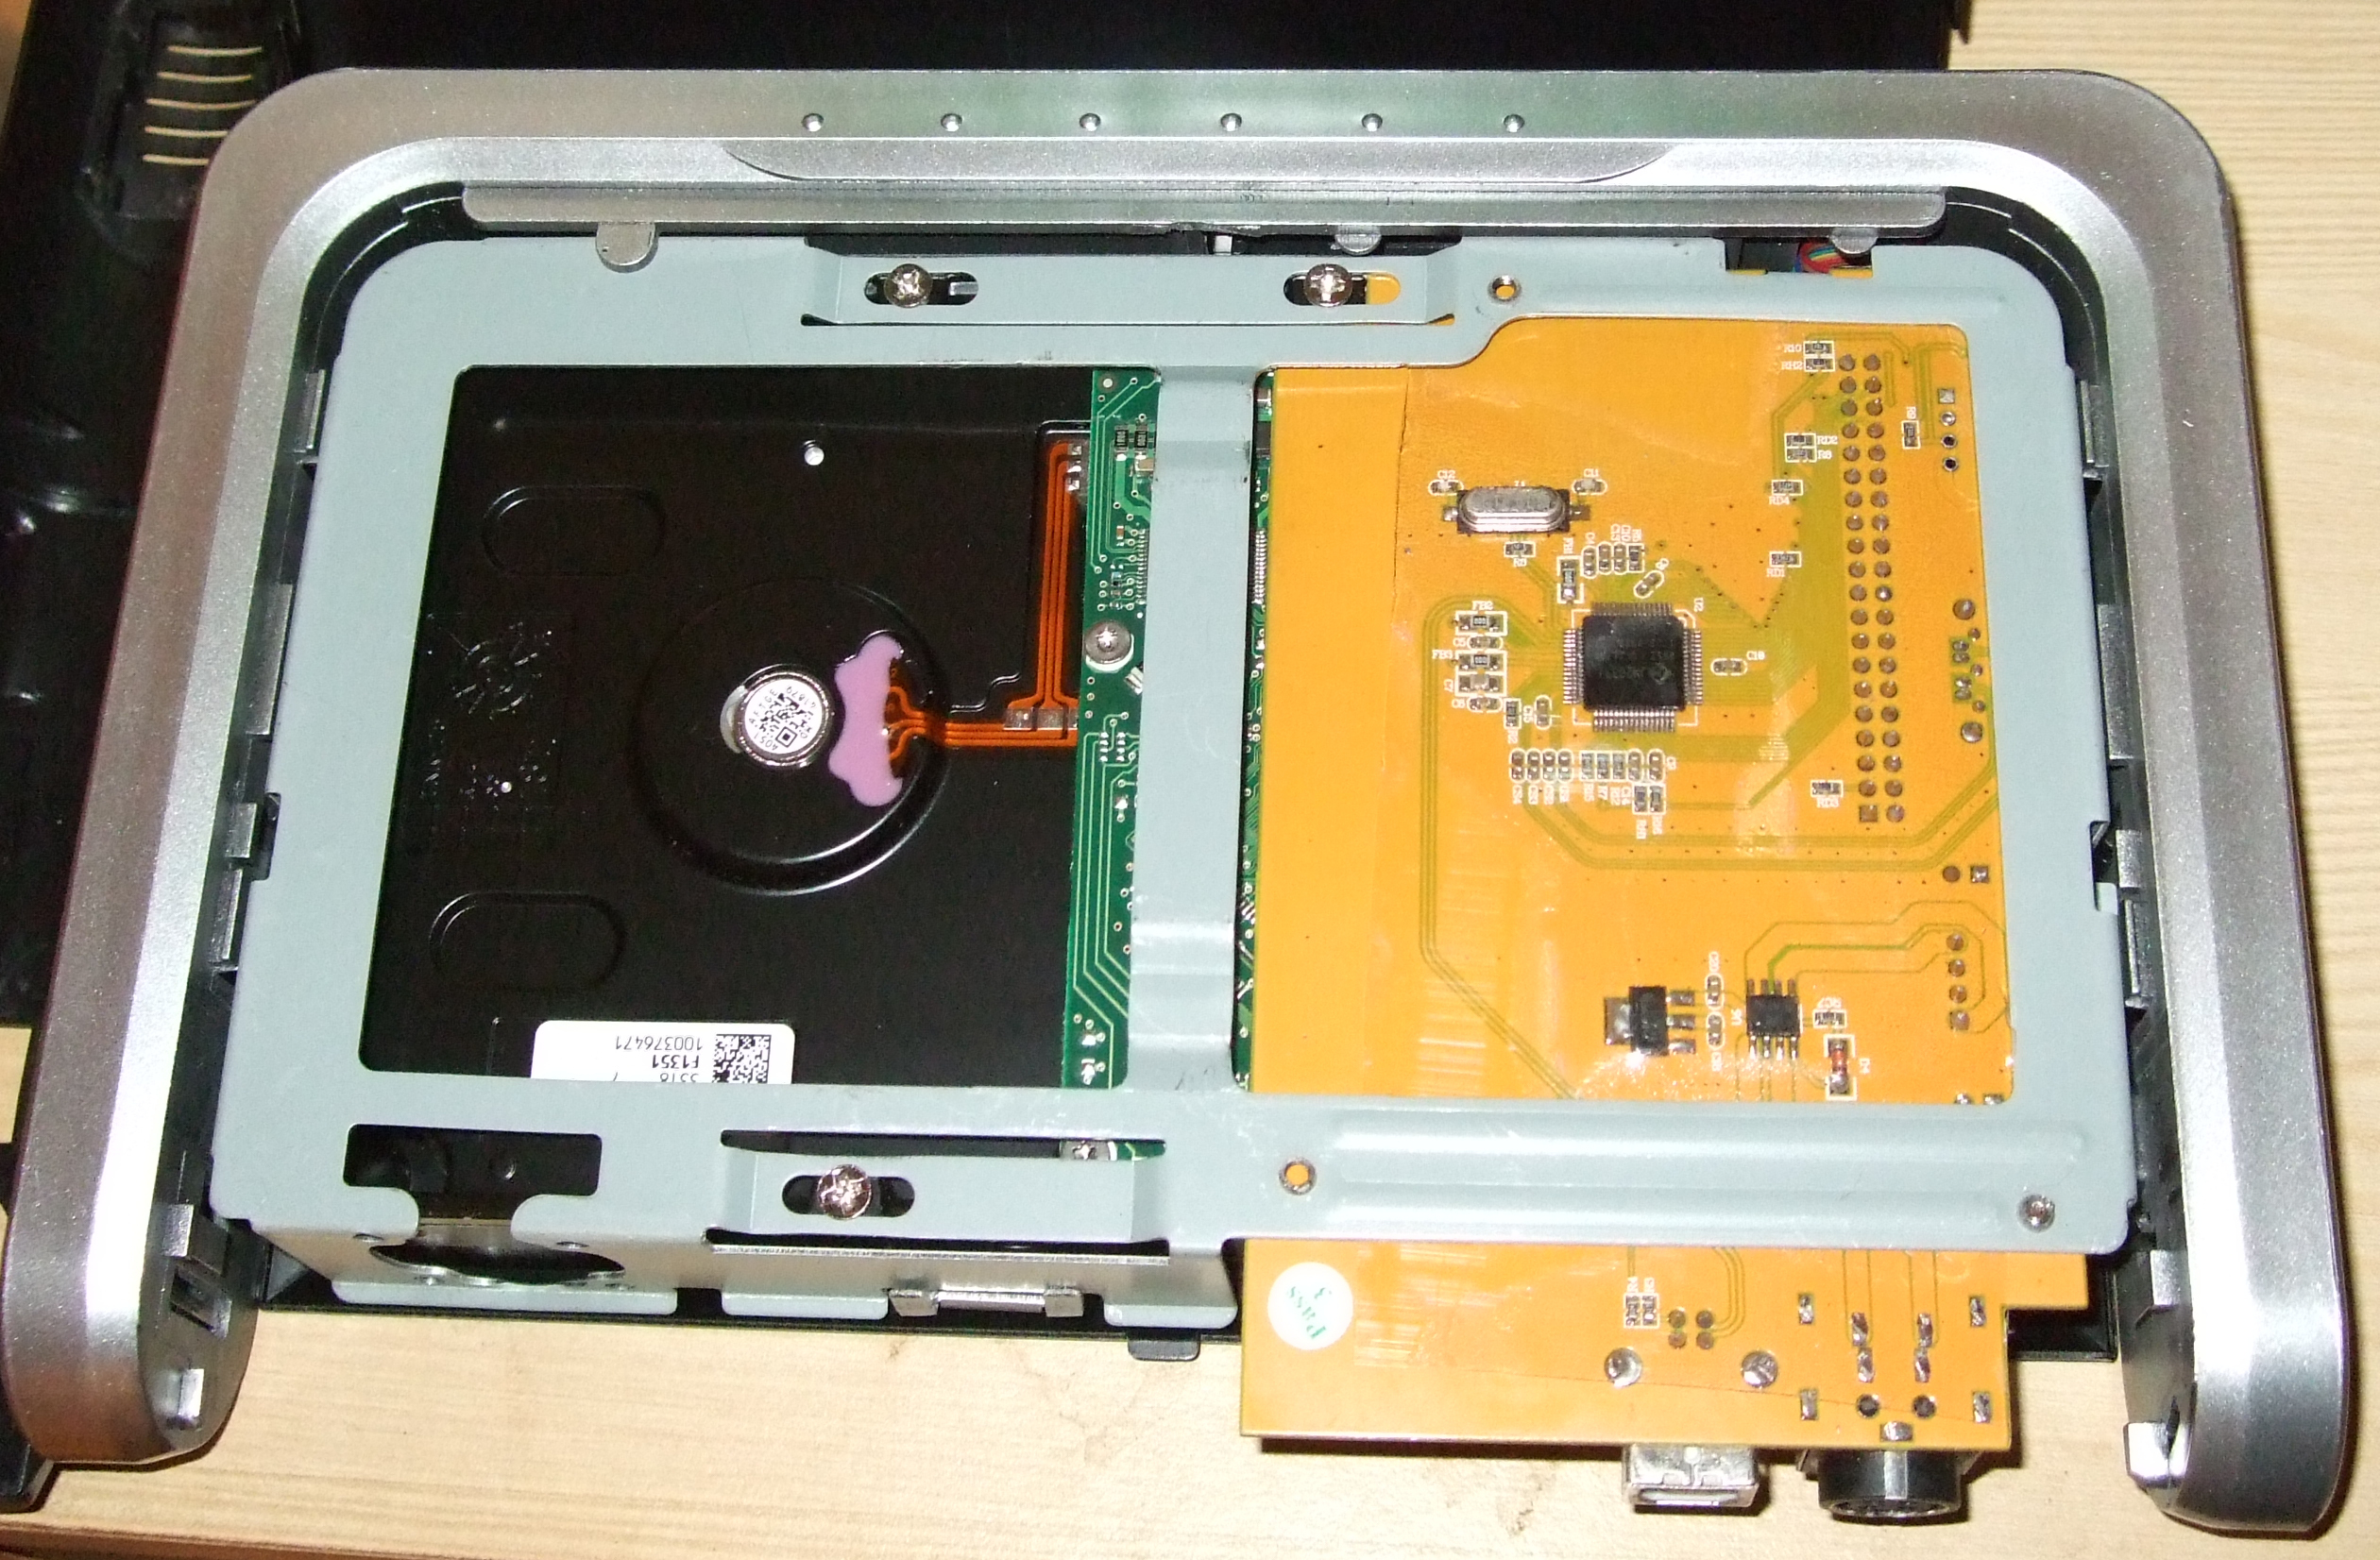
A major bugbear for myself was the lack of any documentation
telling how to strip the unit down as this is how it looked (minus the
stand)
when it was removed from the box.
Thankfully, it wasn't too difficult to discover that the rear panel
unclipped from the frame and then the sides slid out.
Undoing the frame, you slip in the drive, and retain it using the
screws provided.
this is the underside showing the screws.
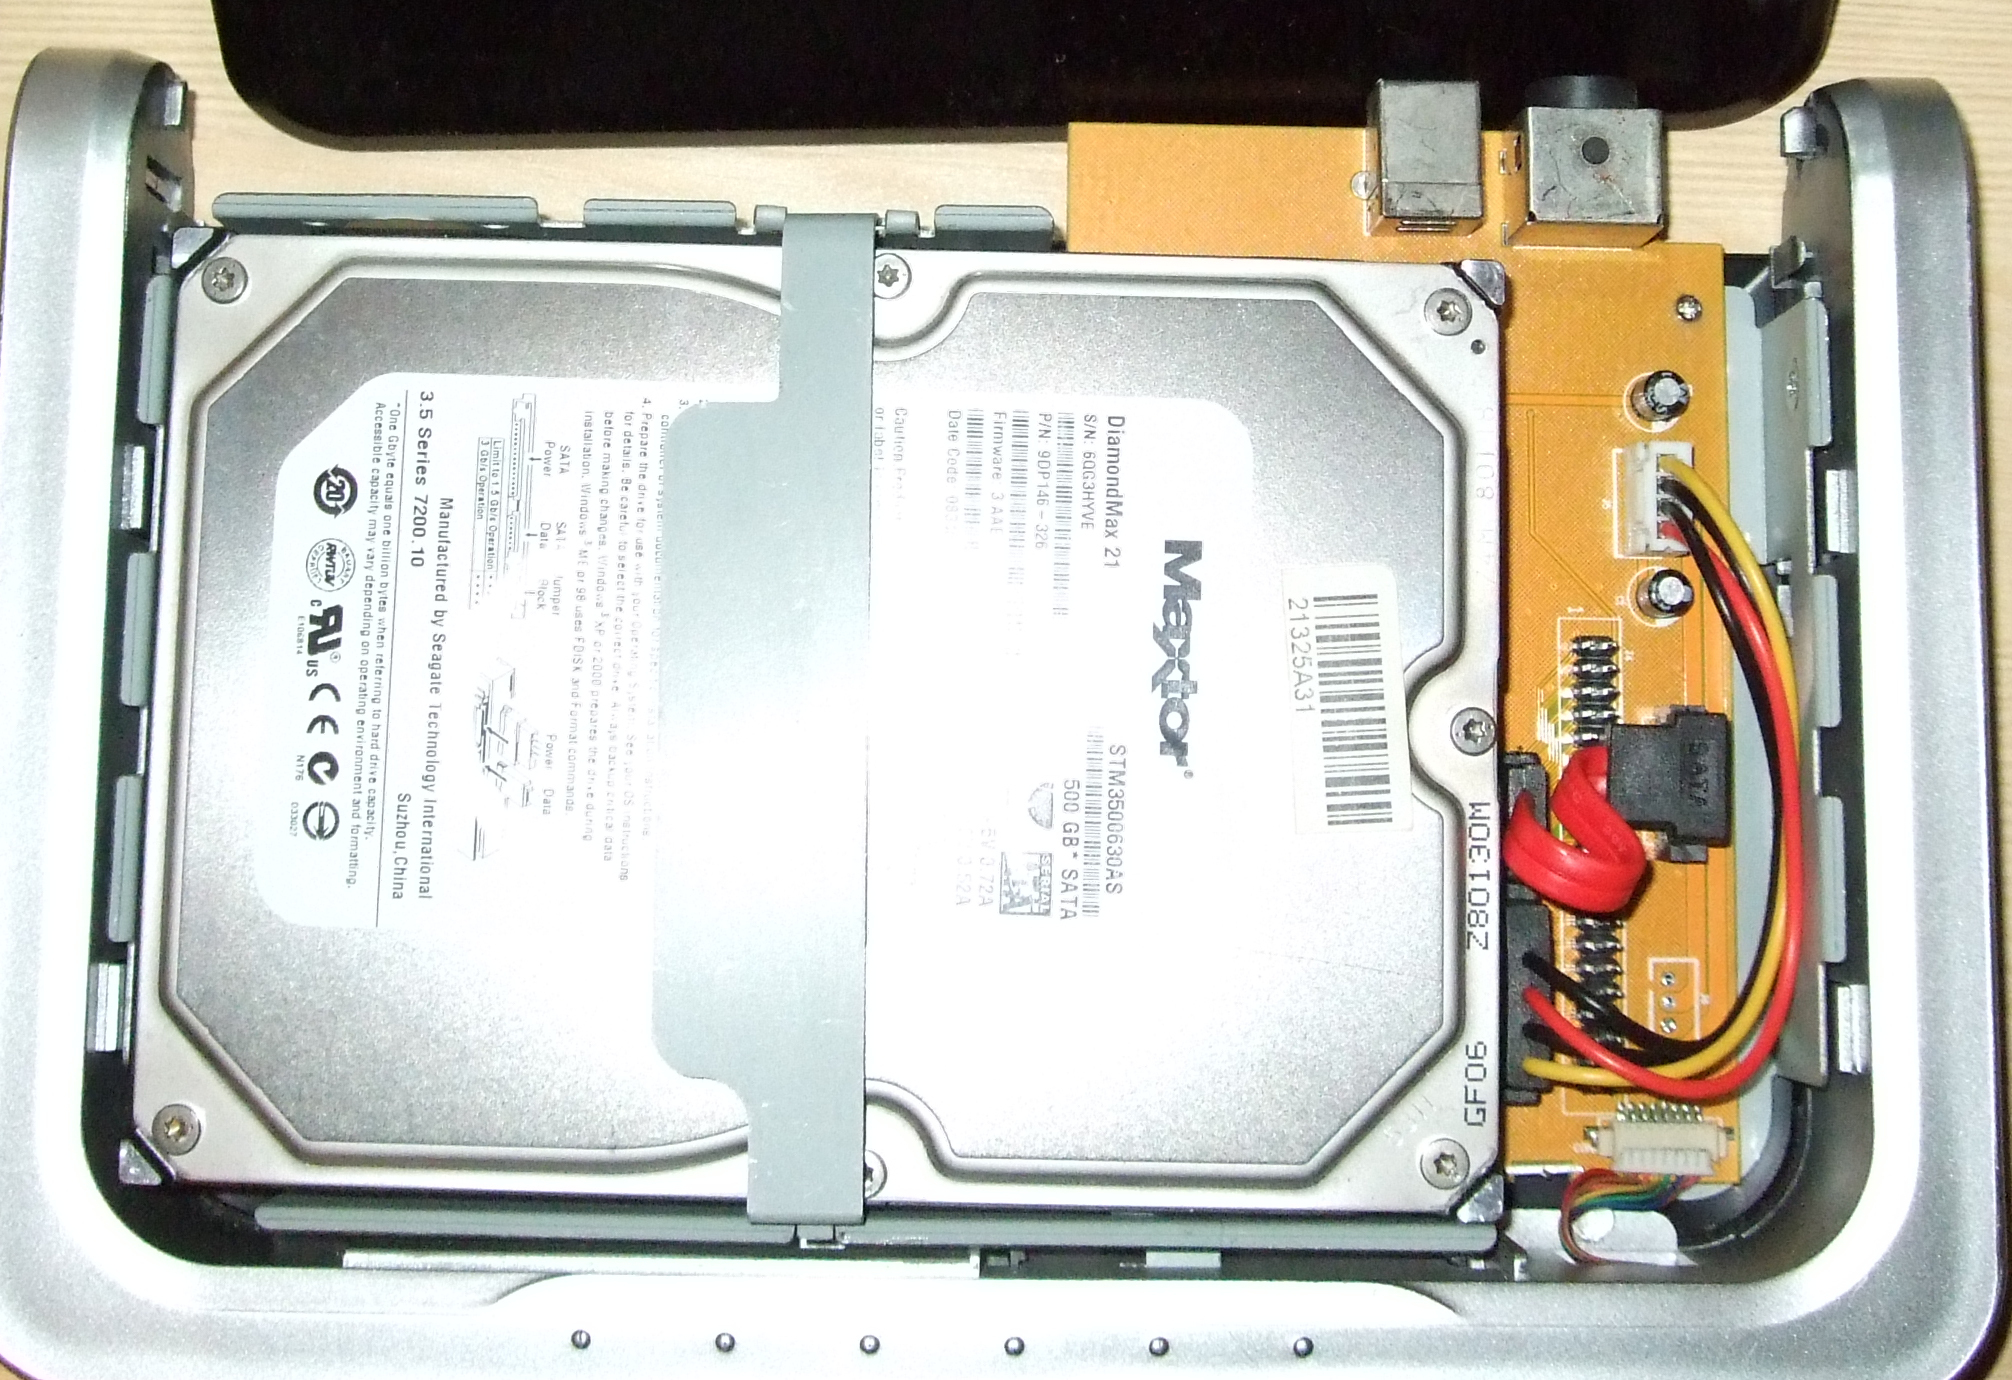
This is the front, showing the clip which closes the drive holder, and
the sata connections.
Underneath the red SATA lead, you can see the IDE header.
The drive comes with the IDE cables in place, but were changed for the
SATA, since that was the spare drive I had.
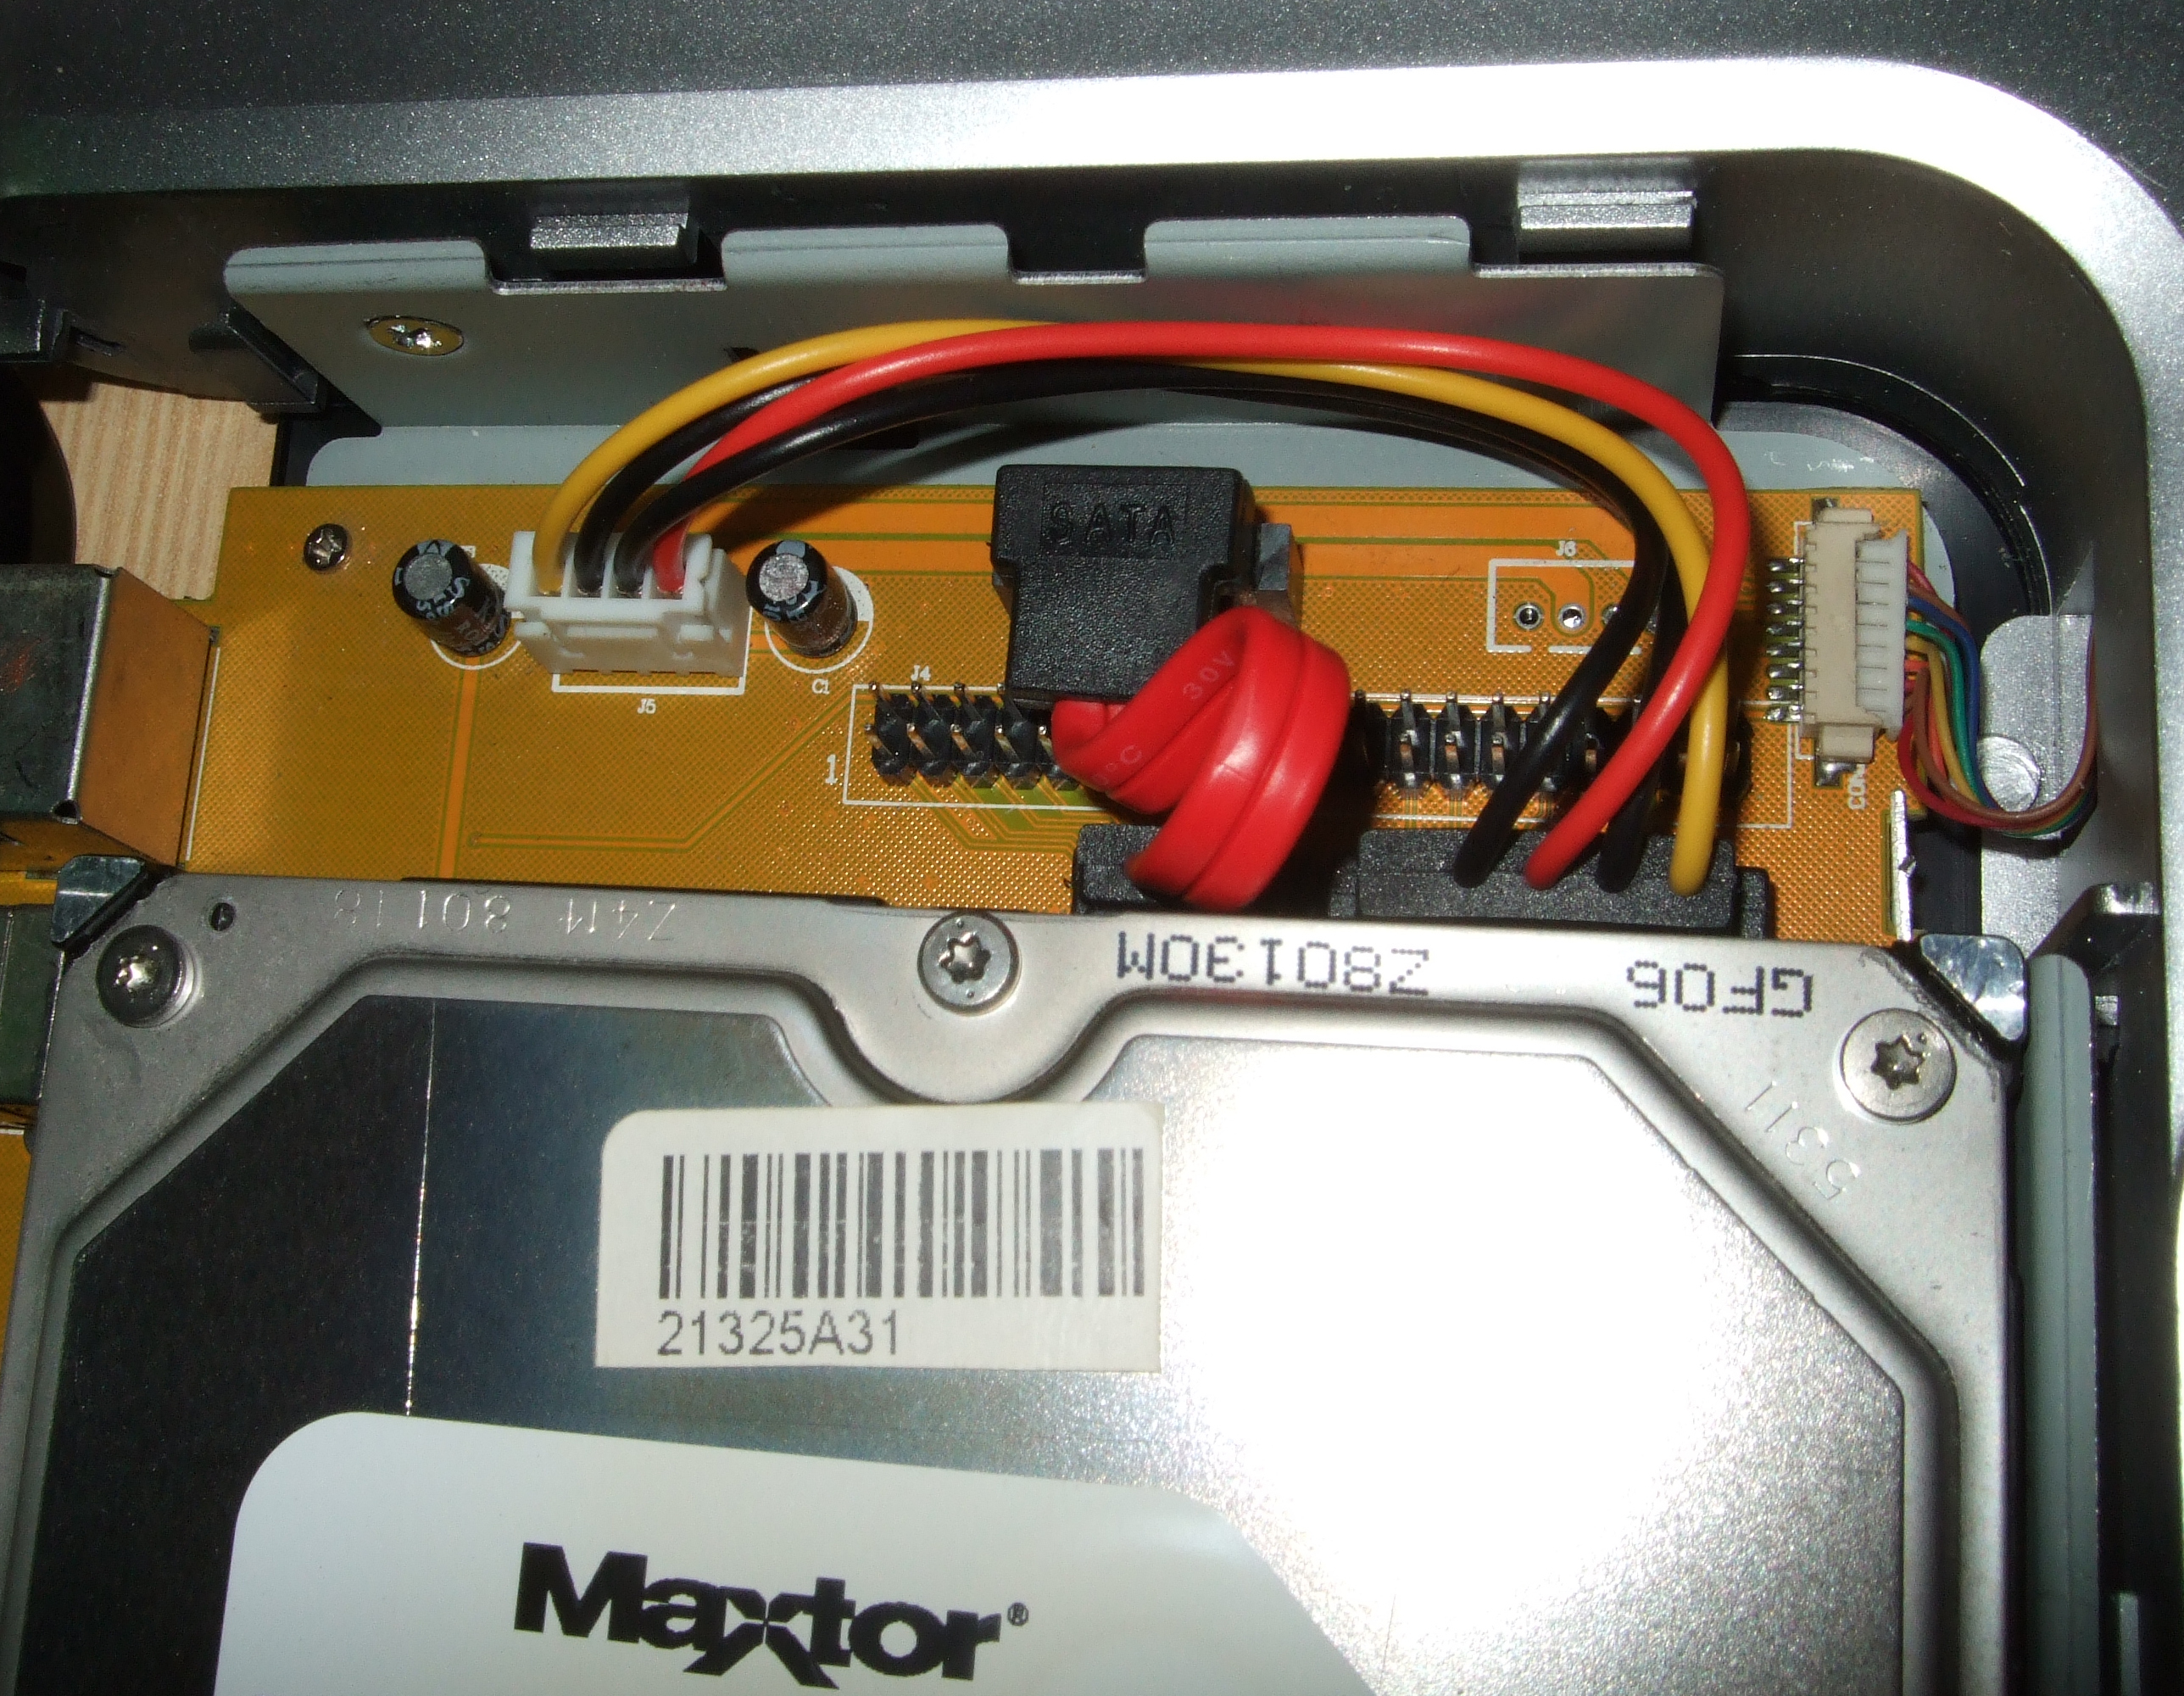
And last, here's a close up of the drive connections.
Building this was a matter of moments, once I figured out how to split
it down.
In action, the drive is fairly cool, even though I've filled it a
couple of times to try it, and speed tests on it have been comparable
to the results from the
Maxtor external that I bought.
The drive has behaved flawlessly since being fitted and the rest of the
household use it to keep all their files that would otherwise clog up
their laptops.
A nice addition to the storage in our household and a cheap option to
those wanting an external drive (if they have a spare drive) without a
large outlay.
Since it is capable (and comes with cables) of both IDE and SATA, it
shouldn't get outdated too quickly.