![]()
Sponsored by BoysStuff.co.uk
![]()
Sponsored by BoysStuff.co.uk

Greetings Cards - Advanced Card Making
Written by Brenda M Hawkins
In my first article I gave you an introduction on greetings cards, with many examples of cards that I have made. My second article gave you step by step photographic instructions on making simple yet attractive cards, including the basic tools and materials that you would need.In this article I will again show you by means of step by step photographic instructions how to make really beautiful personalised greetings cards, this time of an advanced nature. This card is called a Gate Fold and the theme I has chosen is a Get Well Soon card, but you could easily change this to any theme you wish.
 |
 |
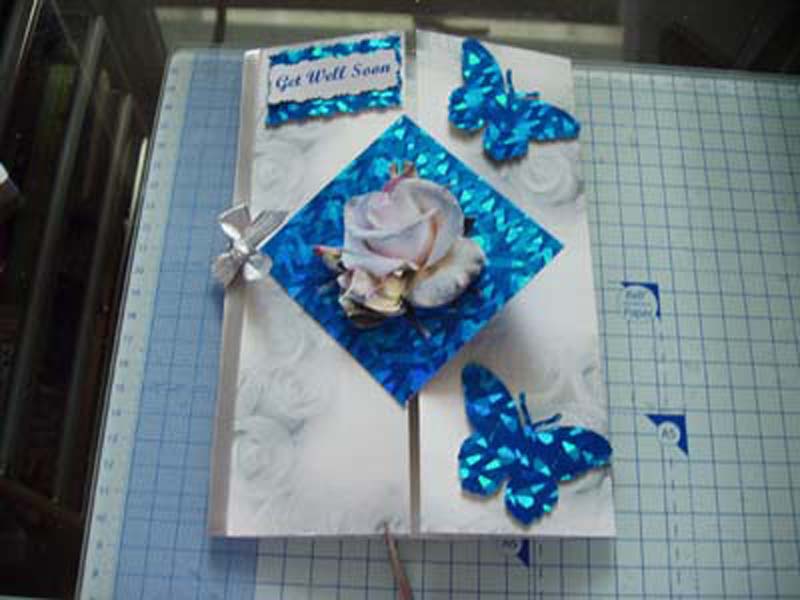
The above two pictures show the completed card that we are about to make. Click on the pictures to enlarge.
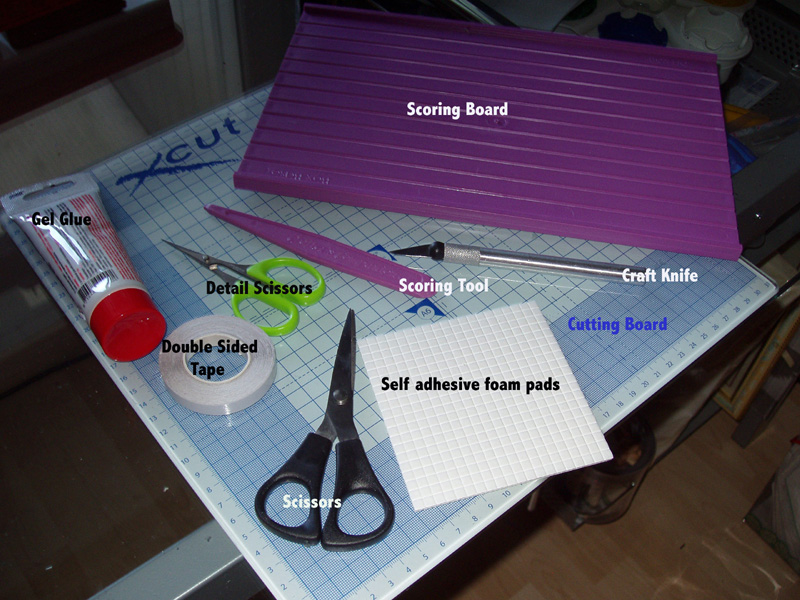
Pic 1 Basic Tools. Click to enlarge.
The basic tools that you will need are the same as before, but this time the Scoring Board and Scoring Tool are essential items that you will need to accurately fold the card.
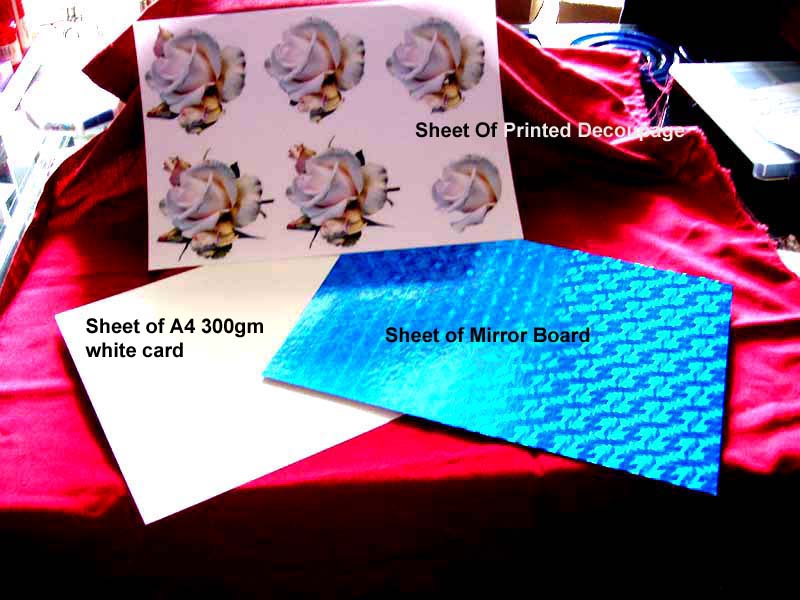
Pic 2 Materials. Click to enlarge.
Above are the materials that we are going to use.
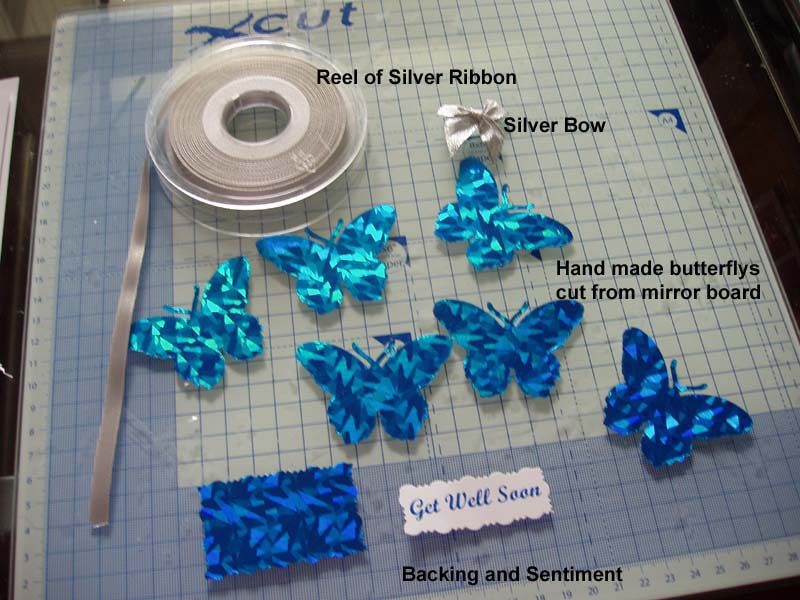
Pic 3 Embellishments. Click to enlarge.
Above are the embellishments that we are going to use to decorate our card.
Let's get started.
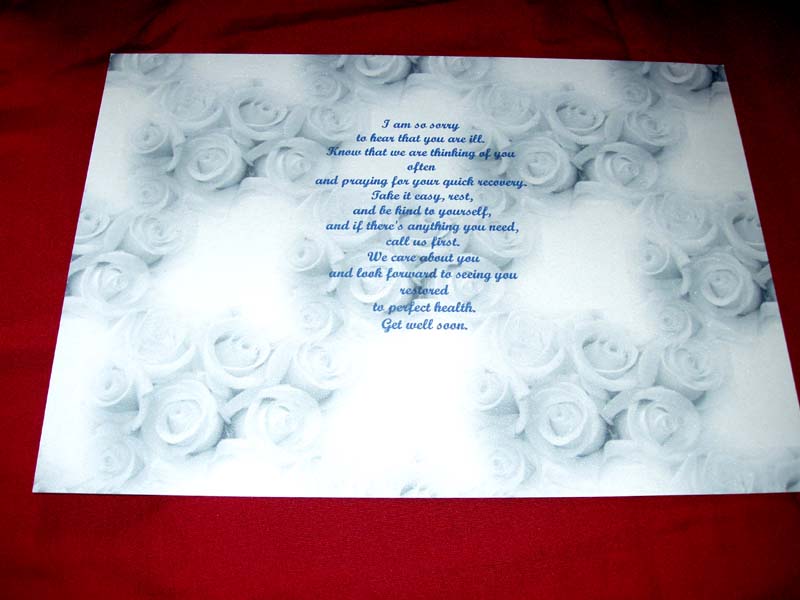
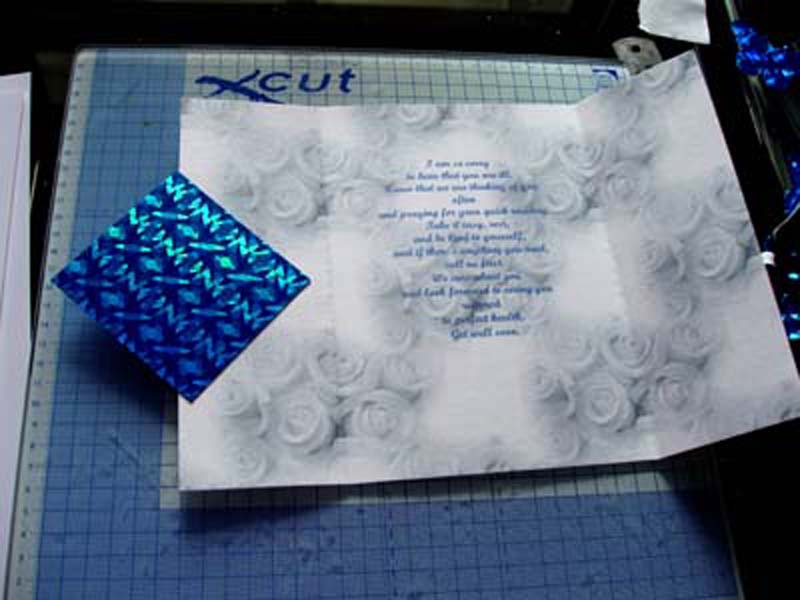
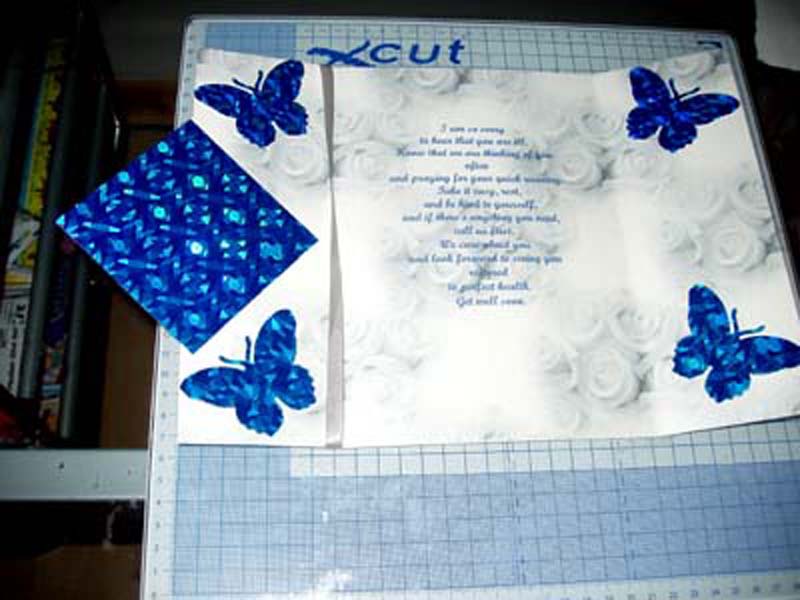
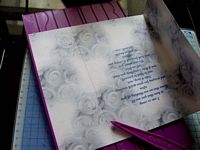
Pic 4 Inside of card. Click to enlarge.
This is the inside of our card. How do you create this? You take your sheet of white A4 card and print on both sides a background design. I have chosen white roses for this card. Background papers can be downloaded from the Internet free of charge or if you choose you could use a sheet of plain coloured card and add your message afterwards.
I have added my message after printing the background using Microsoft Word.
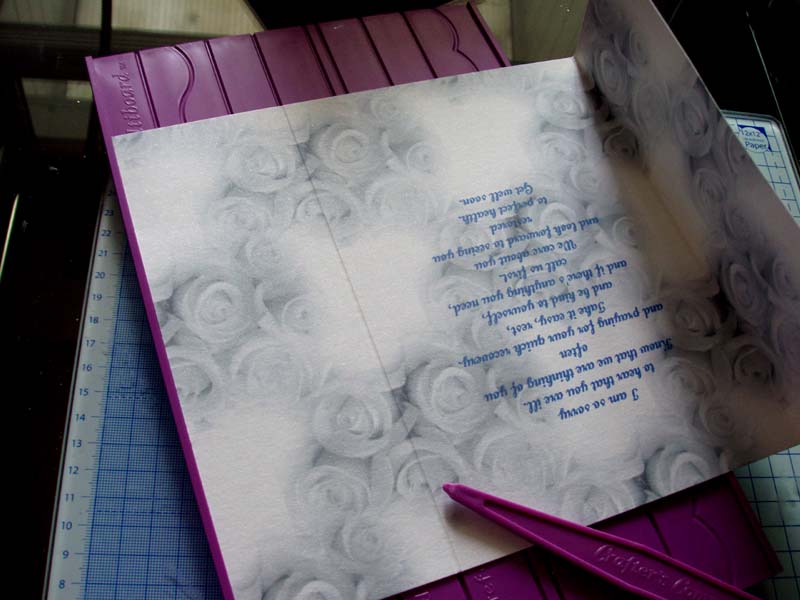
Pic 5 Folding the card. Click to enlarge.
This is where your scoring board comes in. Alien your card to the edge of the scoring board and find the line that says gatefold A4 as shown above, score down both sides in the same way and fold in.
Click on the pictures to enlarge.
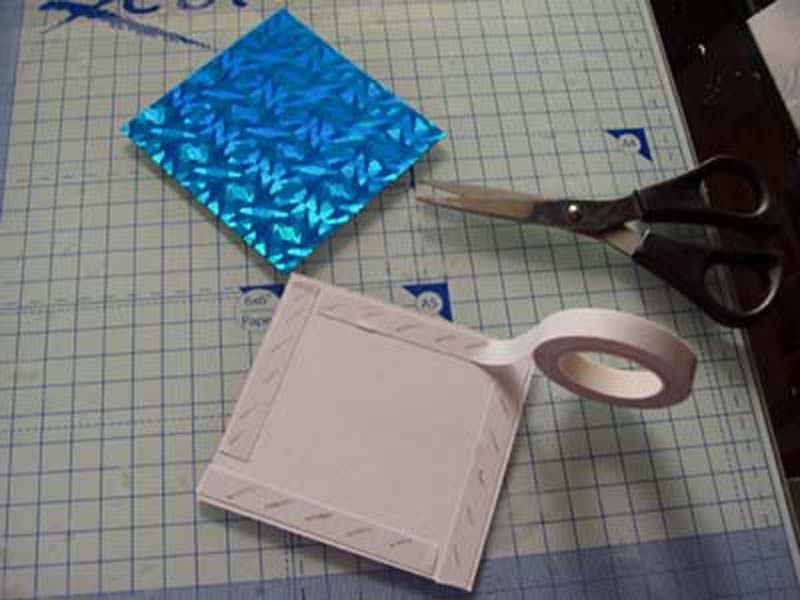
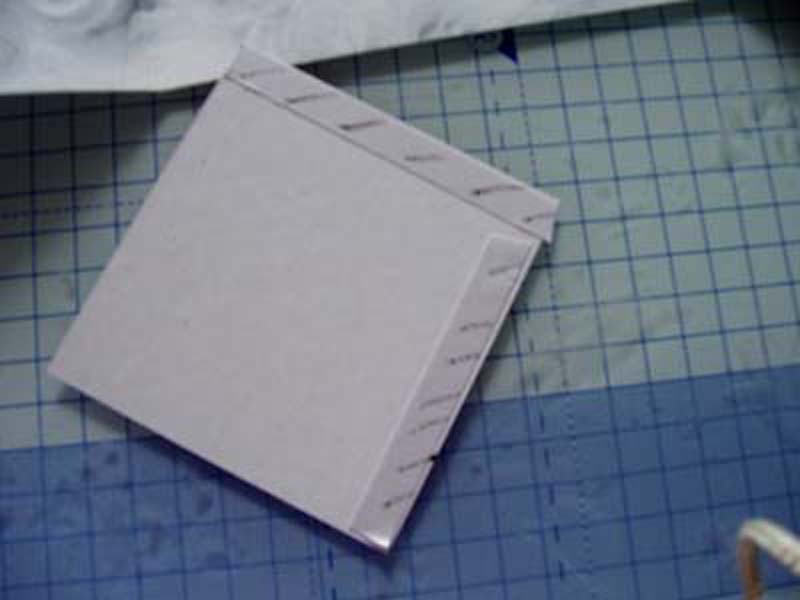
The above two pictures show the two toppers cut from Mirror Board. This is where you need a ruler. Cut both toppers 3 inches square. The first picture shows how you must stick double sided tape to the back of all four sides of one of your toppers. The second picture shows how you must stick double sided tape to the right two sides as shown.
Click on the pictures to enlarge.
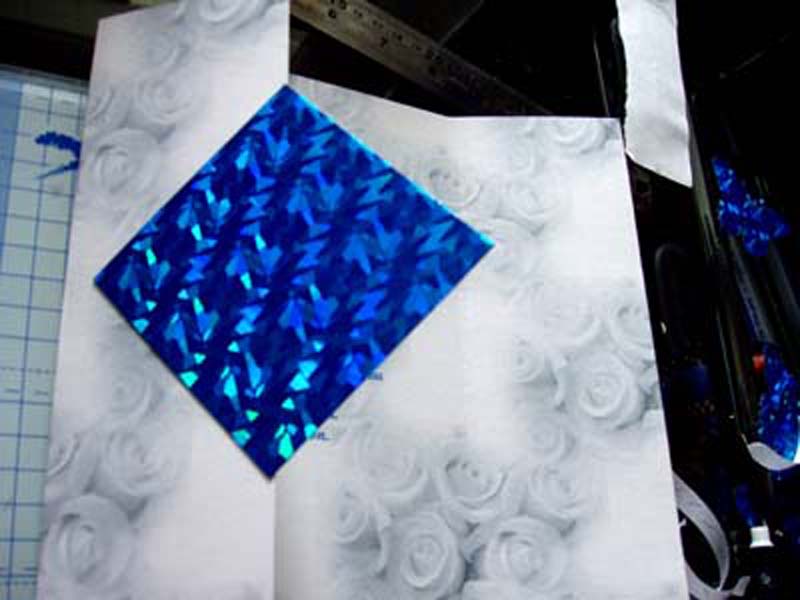
The above two pictures make up your inside and outside topper. The outside topper is the one you have put double sided tape to all sides, peel off the tape and carefully position the first topper diamond shaped with the point on the edge of your left hand gate fold as above picture, remember not to push down on the card as you have two sticky sides unattached on the inside. Next take your other topper and peel off the tape. Then attach to the inside of your card and to your front topper to make sure they match up.
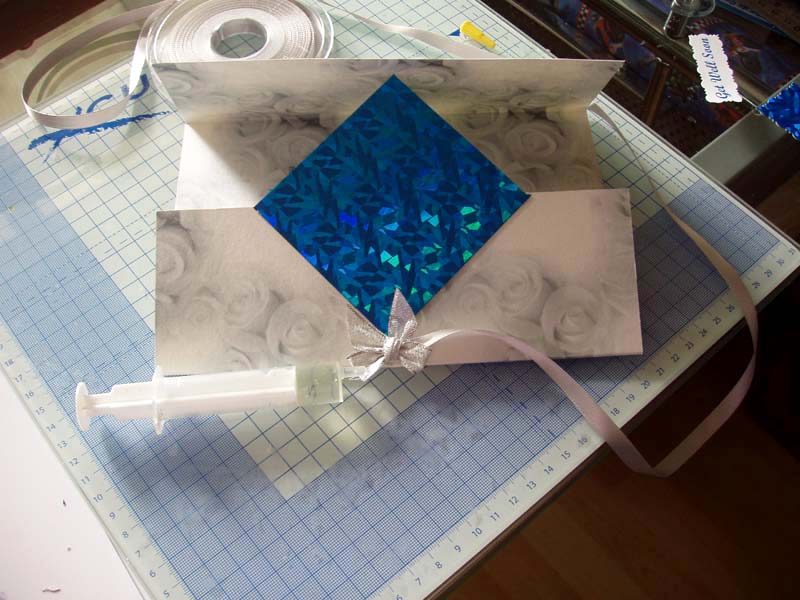
Pic 6 Ribbon & Bow. Click to enlarge.
Above you will see that we are going to attach a ribbon and bow. This can be done two ways, it depends which you feel confident with. Firstly you can tread the ribbon through the bow and glue it to the card. This would then have to be left for some time to dry or you can measure the length of ribbon you require and put double sided tape on both ends pressing down firmly. The bow can then be glued onto the ribbon. Leave this to set . If you have typed a sentiment such as I have done here "Get Well Soon". Cut out with either deckle scissors which gives it a bit of a shape or use straight scissors, your choice. Cut a piece of mirror board slightly bigger than your sentiment, affix sentiment to mirror board leaving a small border then glue to your card.
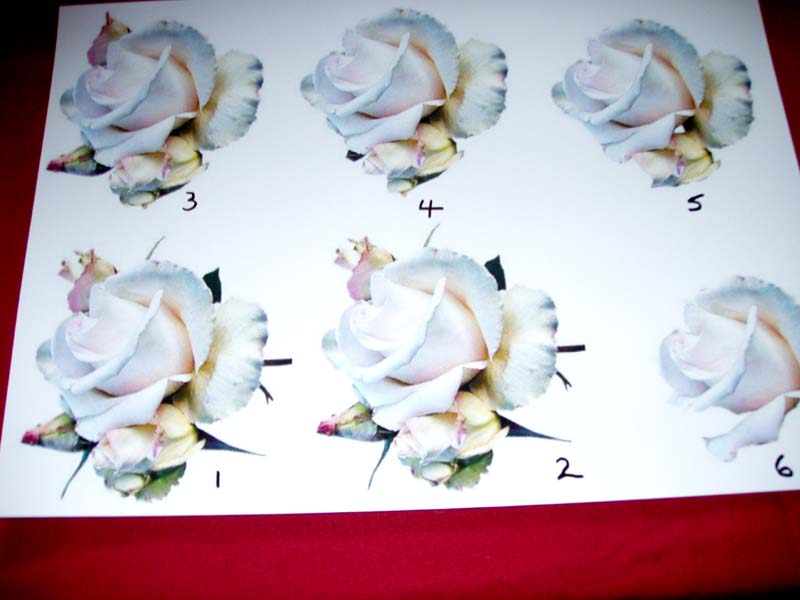
Pic 7 The Decoupage. Click to enlarge.
While your card is drying the fun can really start . Put your card to one side and get out your sheet of printed decoupage. Carefully cut out all the pieces numbered on the back as you go. This will enable you to build the flower up in the right order. As before this is best done with gel glue until you get confident as each piece must line up with the picture you are using and with gel glue you can slightly move it before it dries. This will take some time to do as it is best to let each piece dry before putting the next piece on or it can move and you will end up with a terrible mess. Better results can be obtained using foam adhesive pads but they do require patience and confidence.
Once dry, the whole flower can then be attached to your topper as shown on the completed card. Last but not least, your lovely butterflies can be attached with the gel glue. Apply several spots around the shape but do not press them down hard on your card. Leave to dry.
There, you have completed your card but always remember, that whatever card you make it is your imagination and your ideas that makes the card what it is. I sit for some time before even making a card, I think of the person I am making it for, what sort of things they like and what colours they like, then the card starts to take shape in my mind. You can make them as personal as YOU like. Good luck, I hope you make many beautiful cards and enjoy making them as I do.
All the materials and tools that are needed in these articles can be purchased from the CRAFTSITE link provided below.
Finally, remember.....
HEALTH AND SAFETY WARNING.
Card making requires the use of sharp instruments. Scissors and Craft Knifes can cause injury if care is not taken with use. We use a Silicone free Gel Glue. Make sure that you understand the risks involved if your glue contains Silicone. Finally, keep all sharp instruments and adhesives away from small children.
![]()
| © RIYAN Productions |

|